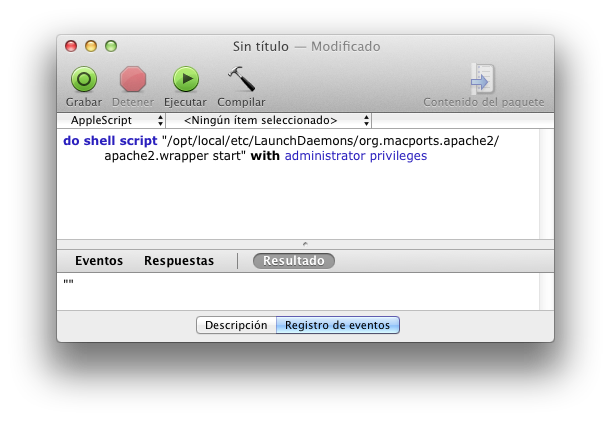
Before installing any Symfony2 project you have to meet the minimum requirements for it in your server. I had some problems because I was using XAMPP at it doesn’t have the necesary PHP 5.3 version. It has to be at least PHP 5.3.3 for Symfony2 2.1 and 5.3.2 for Symfony2 2.0. That’s why I uninstalled XAMPP and installed Apache2+PHP+MySQL using MacPorts. You can see lastest Symfony2 requirements here.
Then you have to install Composer it-self. You can download Composer manually or just run this command (if you have curl installed):
curl -s https://getcomposer.org/installer | php
You can get this error while trying to download Composer:
All settings correct for using Composer
Downloading...
Download failed: failed to open stream: Permission denied
Downloading...
Download failed: failed to open stream: Permission denied
Downloading...
Download failed: failed to open stream: Permission denied
The download failed repeatedly, aborting.
That’s because you are located in a path where you don’t have write permissions. In my case I was in /var/www. That folder has 755 permissions and root:root as user:group owners. I changed its permissions to 775, its group owner to www-data and I added my user to the www-data group (adding www-data at the end of my users configuration line in /etc/group) so I could have write permissions.
Composer uses git to download Symfony2 so you have to install it:
sudo apt-get -y install git
After you have Composer and Git installed you can install the latests 2.2.0 release of Symfony2 running this command (it will take a while):
php composer.phar create-project symfony/framework-standard-edition /path/to/webroot/new_folder 2.2
If you want to download for example the 2.1.x-dev version you can do it by running this command:
php composer.phar create-project symfony/framework-standard-edition /path/to/webroot/new_folder 2.1.x-dev
A new folder will be created in your webroot path with the name you entered in the previous command. Now that Symfony2 is installed you have to make it available on your web server. The web folder of your new Symfony2 project is the only one you have to configure in your server. You can follow the “Configure virtual hosts for XAMPP in Mac OS X” guide to do that. Even the guide is for XAMPP and Mac OS X the process is the same for any Apache web server.
Now all the files are installed and the server is configured but we still have to change user permissions for the cache and log folders so we don’t get any errors when clearing cache and logs. This proccess depends on your system and is explained in the official configuration and setup guide in the “Setting up Permissions” section, but for Ubuntu I had to run this (supposing that the Apache user is www-data):
rm -rf app/cache/*
rm -rf app/logs/*
sudo setfacl -R -m u:www-data:rwx -m u:`whoami`:rwx app/cache app/logs
sudo setfacl -dR -m u:www-data:rwx -m u:`whoami`:rwx app/cache app/logs
In Mac OS X (and other systems that support chmod +a) it would be like this (supposing that the Apache user is _www):
rm -rf app/cache/*
rm -rf app/logs/*
sudo chmod +a "_www allow delete,write,append,file_inherit,directory_inherit" app/cache app/logs
sudo chmod +a "`whoami` allow delete,write,append,file_inherit,directory_inherit" app/cache app/logs
Once you have all configured you have to access the app_dev.php file in your browser.


